The Winning Try: Hall's Strategy And Execution Unveiled

Welcome to your ultimate source for breaking news, trending updates, and in-depth stories from around the world. Whether it's politics, technology, entertainment, sports, or lifestyle, we bring you real-time updates that keep you informed and ahead of the curve.
Our team works tirelessly to ensure you never miss a moment. From the latest developments in global events to the most talked-about topics on social media, our news platform is designed to deliver accurate and timely information, all in one place.
Stay in the know and join thousands of readers who trust us for reliable, up-to-date content. Explore our expertly curated articles and dive deeper into the stories that matter to you. Visit Best Website now and be part of the conversation. Don't miss out on the headlines that shape our world!
Table of Contents
The Winning Try: Hall's Strategy and Execution Unveiled
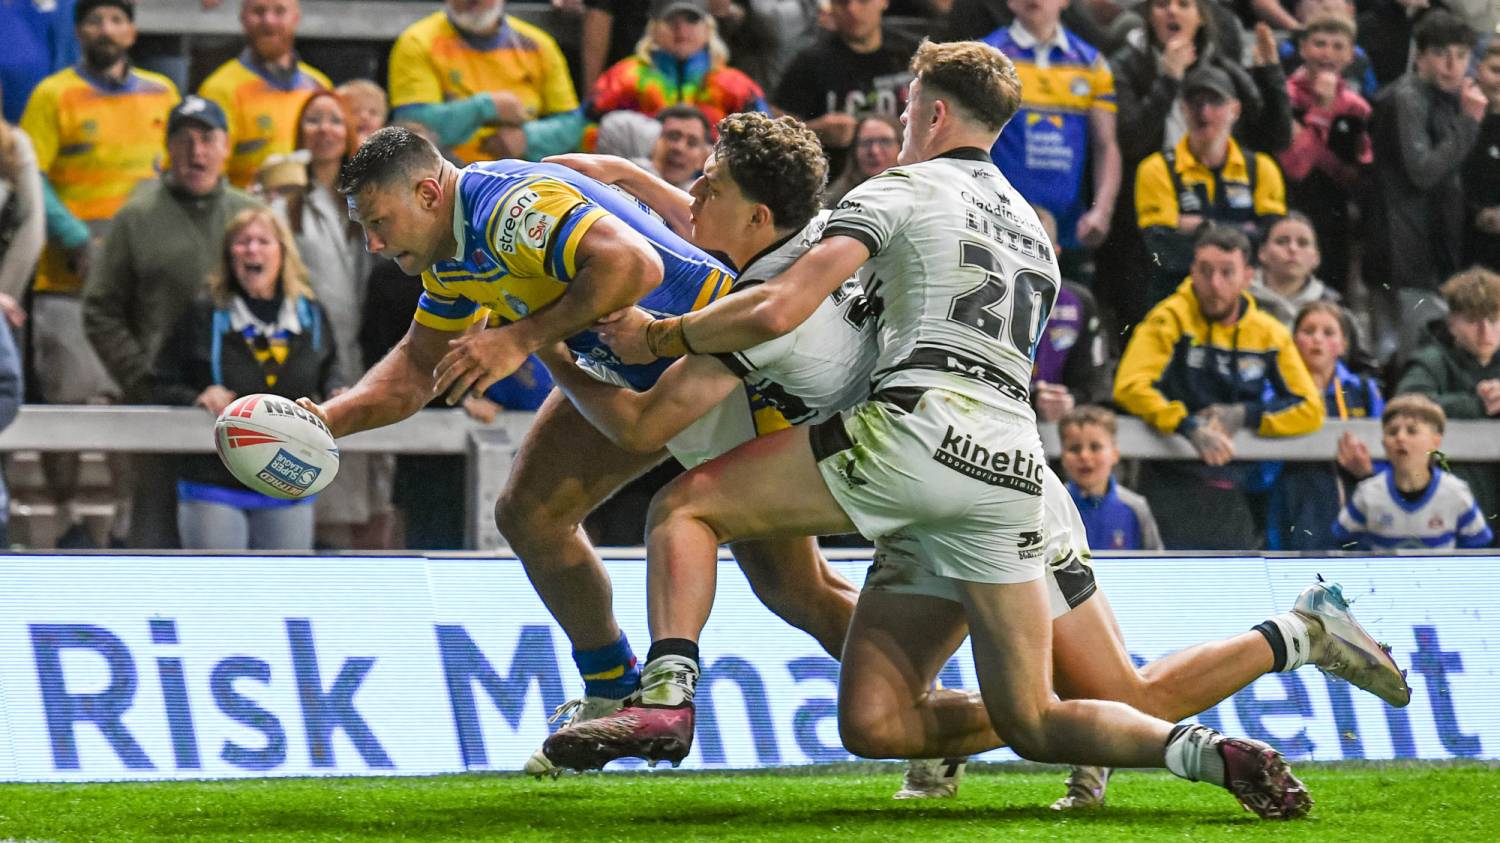
The roar of the crowd is still ringing in our ears, the tension still palpable. Last night's nail-biting match between the Crusaders and the Chiefs culminated in a breathtaking, last-minute try secured by none other than Hall. But how did he do it? This isn't just about a single point; it's a masterclass in strategic rugby, a perfect blend of tactical awareness and precise execution. Let's delve into the details of Hall's winning play and analyze the brilliance behind it.
The Setup: A Calculated Risk
The clock was ticking down; the score was tied. The pressure was immense, not just on Hall but on the entire Crusaders team. Coach [Coach's Name]'s game plan, revealed in post-match interviews, hinged on exploiting a weakness in the Chiefs' defensive line. Intelligence gleaned from previous matches pointed to a vulnerability on the right flank, a susceptibility to quick, penetrating runs. This wasn't a gamble; it was a calculated risk based on meticulous analysis and precise observation.
Hall's Role: The Perfect Executioner
Hall, known for his explosive speed and deceptive footwork, was the ideal player to capitalize on this opportunity. His positioning wasn't accidental; he’d been subtly maneuvering himself into an advantageous position throughout the final minutes, drawing the Chiefs' attention away from the crucial right flank. This was a testament to his tactical understanding of the game and his ability to read the flow of play.
The Play-by-Play Breakdown:
- The Pass: A perfectly weighted pass from [Passing Player's Name] found Hall with the speed and precision of a surgeon's scalpel. This wasn't just a pass; it was a statement of trust, highlighting the strong connection and synergy within the Crusaders' backline.
- The Break: Hall's initial break was a blur of speed and agility, leaving defenders grasping at air. His footwork, a combination of deceptive steps and sudden changes of direction, completely disoriented the Chiefs' defense. This showcased his elite-level skill and years of honed technique.
- The Support: Crucially, the supporting players, [Supporting Player's Names], provided excellent cover, creating a gap for Hall to exploit and preventing the Chiefs from making a last-ditch tackle. Teamwork, as always, proved pivotal to victory.
- The Finish: The final plunge into the try zone was a picture of controlled power and precision. Hall secured the try with the same calm assurance that he displayed throughout the match.
Beyond the Try: Lessons Learned
Hall's winning try serves as a powerful illustration of several key aspects of elite-level rugby:
- Strategic Planning: The importance of pre-game analysis and the development of a robust game plan cannot be overstated.
- Individual Skill: Hall's personal skills – speed, agility, and decision-making – were instrumental in the success of the play.
- Teamwork: The seamless coordination and support provided by Hall's teammates were crucial to the successful execution of the plan.
This match underscores the significance of both individual brilliance and collective effort in high-stakes rugby. Hall's winning try will be remembered not just for its dramatic timing but also as a masterclass in strategic thinking and perfect execution. What are your thoughts on Hall's performance and the Crusaders' strategy? Share your analysis in the comments below!
(Optional CTA): For more in-depth analysis of this match and other exciting rugby moments, subscribe to our newsletter for exclusive content and updates.
Thank you for visiting our website, your trusted source for the latest updates and in-depth coverage on The Winning Try: Hall's Strategy And Execution Unveiled. We're committed to keeping you informed with timely and accurate information to meet your curiosity and needs.
If you have any questions, suggestions, or feedback, we'd love to hear from you. Your insights are valuable to us and help us improve to serve you better. Feel free to reach out through our contact page.
Don't forget to bookmark our website and check back regularly for the latest headlines and trending topics. See you next time, and thank you for being part of our growing community!
Featured Posts
-
 Facing Discrimination A Cafes Refusal Highlights Disability Prejudice
May 19, 2025
Facing Discrimination A Cafes Refusal Highlights Disability Prejudice
May 19, 2025 -
 Death Penalty Threat For American Basketball Player Arrested In Indonesia On Drug Smuggling
May 19, 2025
Death Penalty Threat For American Basketball Player Arrested In Indonesia On Drug Smuggling
May 19, 2025 -
 How Hall Scored The Winning Rugby Try A Tactical Breakdown
May 19, 2025
How Hall Scored The Winning Rugby Try A Tactical Breakdown
May 19, 2025 -
 Life Inside A Chinese Prison An Australians Perspective Matthew Radalj
May 19, 2025
Life Inside A Chinese Prison An Australians Perspective Matthew Radalj
May 19, 2025 -
 Imperdible Yahir Y Victor Garcia Cantan Otra Vez En Juego De Voces 2025
May 19, 2025
Imperdible Yahir Y Victor Garcia Cantan Otra Vez En Juego De Voces 2025
May 19, 2025
Latest Posts
-
 I Will Never Regret Coming A Solo Travelers Escape From Iran Amidst Israeli Strikes
Jul 08, 2025
I Will Never Regret Coming A Solo Travelers Escape From Iran Amidst Israeli Strikes
Jul 08, 2025 -
 Analyzing You Ll Never Walk Alone And Swept Away A Comparative Headline Study
Jul 08, 2025
Analyzing You Ll Never Walk Alone And Swept Away A Comparative Headline Study
Jul 08, 2025 -
 Tick Borne Illness Threat Lyme Disease Spreads Across The Northeast
Jul 08, 2025
Tick Borne Illness Threat Lyme Disease Spreads Across The Northeast
Jul 08, 2025 -
 Headline Impact A Case Study Of You Ll Never Walk Alone Vs Swept Away
Jul 08, 2025
Headline Impact A Case Study Of You Ll Never Walk Alone Vs Swept Away
Jul 08, 2025 -
 Deadly Texas Floods A Community Responds To The Crisis
Jul 08, 2025
Deadly Texas Floods A Community Responds To The Crisis
Jul 08, 2025

